Friday, December 28, 2012

*Now* she's done

Did the interior buttons on the ranger. Nothing else. Now she's done.


Did some shading and highlighting on the skin of the minotaur.


It's pretty subtle. The white highlights don't show up at all in the pictures. The highlights on the black are a little rough. I may adjust them more, I may leave them. I wanted to give it a chance to dry and set before doing more with it. Hmmm...looks like I may have picked the wrong spot for the highlight in a couple places. Maybe not, maybe it's just the way he's lit. I was painting for overhead lighting, and there is a light coming in from the side in these pictures.

I used straight black to shade the almost-black parts. Since the colors are so close, getting it to blend in smoothly wasn't going to be an issue. I just painted the black on, no thinning, expecting it'd barely show anyway, and the hard lines wouldn't be very noticeable. I made a blue-gray mix for the first highlight, and tries to keep the highlights narrow. The I used white for the highest spot highlights. Then, not quite happy with how light that made everything, I hit it all with a black wash. That's the part I wanted to let dry and set before proceeding. 

It's hard to get black and white to look right. So, it's tempting to not put a ton of effort in to getting it wonderful, knowing it's probably doomed to failure. I'm hoping that once some of the other colors go in, and he's got a bit more context, I'll be less inclined to do that.

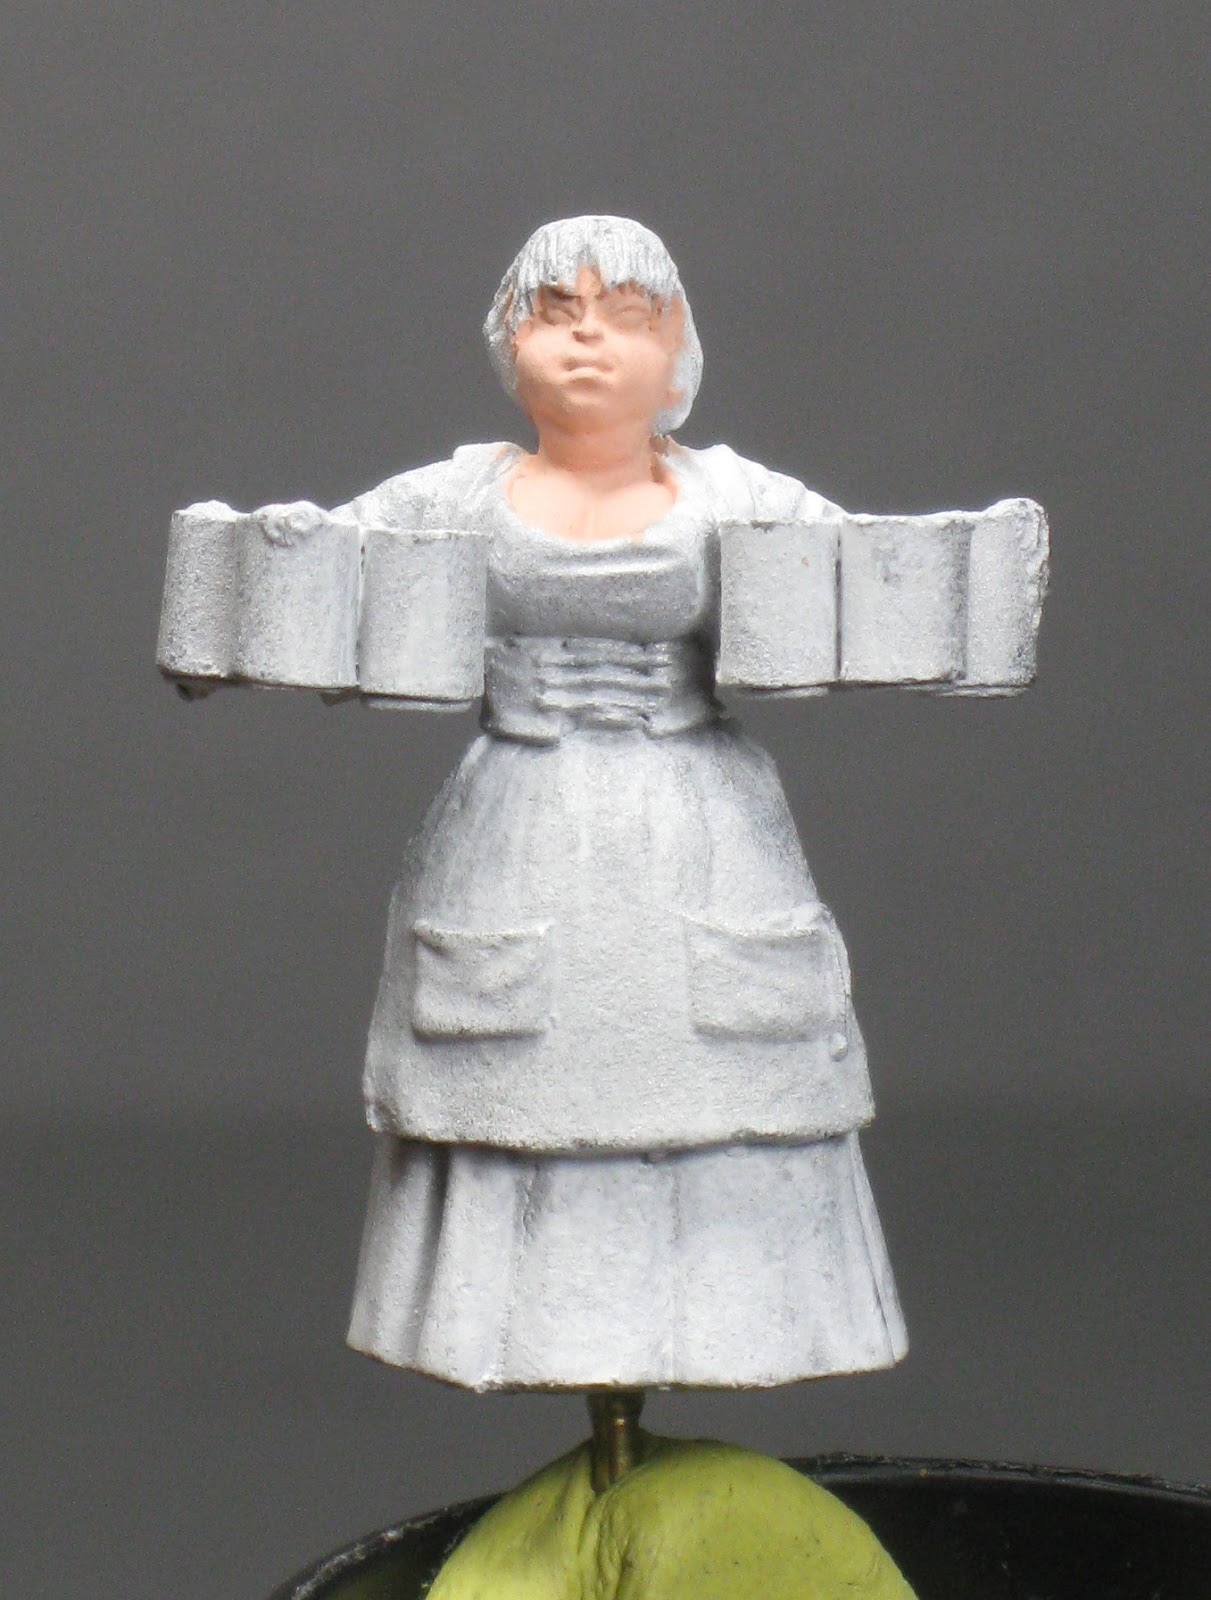
And, since I set him aside to dry, I put the base skin tone on the bar maid.


She's also been cut off her base and been given a peg to put her on the new base, eventually. I even managed to mostly save her shoe when I cut her off the broccoli base.

(Broccoli Base: the fairly distinctive, generically textured integral base that many figures in Reaper's Dark Heaven line have.)


Thursday, December 27, 2012

Ranger Done

Finished her off tonight.


I'm not thrilled with the swords, but then, this is maybe the 3rd time I've done NMM. The first time worked out pretty well, but there were many painted examples online of the mini I was doing. So, I picked the one I liked best, and copied where the highlights and shadows went. This time, I actually had to decide for myself. So, it's not as good. 

I'm torn between thinking some more detail would be good (freehand on the cloak, two-tone armor, something) and liking the simplicity of what I've got. 

Bah. Just realized I forgot the buttons on the inside of her cloak. Well, I'll do those tomorrow. Then she'll be done.

Monday, December 24, 2012

Love me some purple shadows!

Did shading and highlighting on the ranger's cloak, and a base coat (preparing for NMM) on her swords.


The highlights aren't quite as smooth as I'd like. A couple are OK, and a couple others are pretty harsh. Might go back and see if I can smooth out the rougher ones.

Now, on the shadows. The shadow color here is the base coat color, plus RMS Nightshade Purple, at about a 50/50 mix. The color produced looks pretty close to black, but it isn't. You can see the purple tint in there. I like using purple for shading greens, reds, and sometimes blues. A dark purple will read nice and dark, it tends to be a cooler color so it will tend to recede visually (depending on what the base color is, anyway - it's not always cooler then blues, but it generally will be with reds and greens), but since it's not actually black, it has a little more going on than plain black shadows. 

I may come back and hit the shadows with straight-up Nightshade Purple.  Live, they look dark enough. In the pictures, not so much.

One of the problems I'm having with this mini is that every time I work on that dark green, the wet paint looks much, much darker than it will when dry. So, I have to give it plenty of time to dry before deciding if it looks right. Makes for slow going, and also makes it harder to get the blends to look right.

Also did some touch up with on Mr. Moo-Cow's white spots, just cleaning up the edges a bit. No new pictures because it looks the same.


Sunday, December 23, 2012

Sometimes, things just don't work out.

I did some shading on the ranger's tunic today, and then started putting camo splotches on her cloak.


I started blending them in, and realized the look just wasn't doing it for me on this mini.Maybe a different color would have been better, maybe smaller patches. In any case, I wasn't liking where it was going, so I went right back over it with the green. Still,  I think she'll need some sort of detail to add interest. Maybe some freehand on the cloak or something. First, I'll get the cloak shaded and highlighted.

Also put in a bit of work on Mr. Moo Cow today. Just filling in the white spots on his coat. I used RMS Linen White, which is just slightly off white. That'll let me use real white to highlight and brighten it up. Similarly, his black spots are RMS Faded Black, which is a soft, charcoal-like black. I can use real black to shade it very subtly.


In the middle of all that, I got called in to work on another creative project:


 Last, a couple new minis hit the table today. These are the others in the set with the bar matron. I put together their wood floor bases and did a little clean up on them today.


Friday, December 21, 2012

Bit of progress

Very, very green.


I was originally going to make the cloak a lighter green, but when I put the dark green on her tunic I really liked the color, and how it worked with the rest of her. I may make the cloak camo-ish by adding some gray patches. However, I'm kind of liking the simplicity of the brown and green. 

Hmm, looks like I have to hit some of the grooves by the buttons along the back of her cloak again. The green is RMS Green Shadow (9236). It took a number of coats (thinned a bit) to get a good solid base coat, but on the cloak it still looks a little blotchy. I'm hoping that once it's had more time to dry it will be more even.

Thursday, December 20, 2012

Working on armor

Didn't have a lot of time tonight, as my normal painting time got sucked up by wrapping Christmas presents. But, I put some highlights on her armor, and painted her gloves in the same armor colors. I'd talked about adding another color to her armor, but I don't think I'm going to. I like it pretty well as is, and I think the chances of making it look worse are higher than making it look better.

Besides. She looks like a ranger. Rangers don't do flashy.

I'll probably do her swords last, so there's a ways to go yet, but I'm considering practicing my NMM on this one. It's a small amount of metal, just the swords and some rivets, so it's tackle-able for me.

(NMM: Non-Metallic Metal. Painting metal items using non-metallic paint, but making the shadows and highlights sharper and more stark such that they provide the appearance of the shininess of metal.)


Wednesday, December 19, 2012

Bar Matron Finished


And, she's done. Well, except I may go back and fuss with the mugs a bit more, I'm not sold on the highlights. We'll see. I went whiter and heavier on the highlights on the apron than I did on her tunic because I wanted it to read as whiter. The apron flattened out a lot in the pictures, but even live I'm not sure it quite worked out the way I wanted. Either way, I'm not unhappy with it. Hmm, actually, it looks like I might need to do a little touch up on her vest, too. A small thing. 

Oh, don't worry, the cat hair on the base isn't attached. 

Monday, December 17, 2012

Sculpt Pet Peeve #4

Armor bits that appear to be stuck on with Velcro.


Yes, some of them appear to have rivets. The knee pads have straps. But some of those other plates really just seem to be stuck on there. 

That's a base coat and then a couple washes on the armor. (There are a few spots that look like I missed them, but it's because the wash is still wet.) I had originally been planning to do a duo tone thing on the armor, but I'm really liking that brown with her skin color. That's why her gloves are still unpainted; they were going to be the other brown. I may still put another brown in there. I may not. 

Also, I think there are meant to be separate boots and leggings under the armor bits. Usually I'd try to sort out what's what, but this time I'm just making it all brown. We'll see how that goes.

And, the bar matron:


I put shading and highlighting on her skirt. It's not real high contrast, because the skirt is fairly smooth. 

Also, per my husband's suggestion I drilled a hole in the film canister and put the peg through there. The poster tac is on the inside of the canister, holding it in place from there. It's much more stable this way. Yay!


Sunday, December 16, 2012

Work on the Matron

Got a bit done on the matron today. I suspect I'll be focusing on her until she's done. The little peg thing is not sufficiently held in place by poster tack, which makes her lean all over the place and come loose occasionally. Also, since she's on the edge of the film canister I'm tacking her to, the thing isn't balanced and will fall over when sitting on the table if I forgot to lean it against something. So, she's kind of a pain to work with and I want to get her off the table.


I did shading and highlighting on her shirt, and base coated some other clothing. Soon I'll need to make some decisions on what color to make the apron and the mugs. The apron, I'll probably go with the same color as the shirt. The mugs...not sure. Maybe I'll try for pewter. Maybe wood. They could be pottery, too, in which case most any color would work.

Also, today it was warm-ish enough to try out the new can of spray primer I bought. It's Valspar White Primer. I don't like it. The spray comes out quite heavy and with an inconsistent drop size. Also, it has a broad cone of spray. I think it I were wanting to primer a mail box or bird feeder or something, it'd be great.  Since I want to do somewhat finer work, it's less useful. Now, to be fair, the can says it wants to be used when the temp is 65 to 90 degrees (F), and today we topped out at a  balmy 54. So, if I try it when the temperature is closer to where it wants to be, I might have better luck. I'll also take a look at the guys I primed tomorrow and see if I change my mind.

Saturday, December 15, 2012

Skin & Hair

First, a shot of all the familiars with a full-sized person on a similar base for scale. Limited depth of field makes the front ones out of focus, but it should still be good enough to show the relative size.


I think that's more of an ROUS than a normal rat.

I finished the skin, face, and hair of the dual-wield woman:


She has really tiny eyes and one of them is tucked in behind her hair. I used a pen to get a spot for the iris/pupil in there. It was particularly difficult with this one to get the spots where I wanted them without making a mess. When you're not looking at it in close up, it's not too bad. Not great, but passable.

I'm giving her black hair, with can be tricky. I may mess with it some more. I'm trying to decide if it has too much highlight, too little, too bright, or what. I use my dog as my black hair model. You can see there's a lot of highlight, and they're pretty bight, but she still reads as mostly black.


Also did skin, hair, and face on the bar matron, along with a base coat of her shirt.


I did put some ruddy color on her cheeks. I have recently been watching Marike Rimer's Dark Sword video, and she talks about using Reaper's Clear Red for that purpose. Tried it. Didn't work for me. I'm not sure how she managed to get it as subtle as she did. I had a horrible time getting it to go on smoothly, and it kept drying with hard edges like it was pooling. I ended up going with a different red, which I got to work out better for me.

Also, she has huge eyes (relatively speaking), so I tried putting in actual colored irises and pupils.Again, when you're not looking at it up close,  it's OK. I think I'm going to have to get some magnifiers soon, if I want to do tiny detail. I just can't see it well enough.

And, I started a base coat on the minotaur:


Yes, he's kind of spotty. He's meant to be. I'm painting him up like a dairy cow - black and white spots. Yes, it's been done before, probably many times...but I don't have one yet. So that's what I'm doing.


Thursday, December 13, 2012

Coyote

Last of the familiars. The manufacturer claims it's a wolf, but I already have wolves, and the ones I have are larger. So I made this guy a coyote. Which, in retrospect, may not have been a wonderful plan. I looked at pictures of coyotes, and they all had this mottled coat with colors in layers, and darker colors on the top. I've tried replicating that sort of look before, and it always comes out kind of iffy. But here it is.


Yeah, I'm not real thrilled with this one.

Wednesday, December 12, 2012

RIP, Lily


Died of bone cancer at 17 yrs. We will miss you.


(Should be back to painting tomorrow.)

Saturday, December 8, 2012

Fox

Today's familiar: a fox.


Yeah, the highlights in his eyes are a bit big, and the fur highlights don't show up well in the picture. Oh well. Only one familiar left!

And, I put a base coat on the bar matron's skin. I'm using the Reaper MS Rosy Skin triad for her. It's very pink (you know....rosy) for my taste, so I don't use it that often, but I think it suits her. Later I'll try to give her some ruddy cheeks, too. Carrying around all those steins is hard work!


Friday, December 7, 2012

Armadillo!

Today's familiar is an armadillo. No, really. If you're at all familiar with Reaper's various Animal Companion and Familiar packs, well, they have way more than cats, rats, and falcons. A sample of other familiars available: skunk, penguin, iguana, aardvark, and a number of different fish.


He's not terribly impressive. I don't live in a part of the country where these live, so I got the coloring off of Google. I do happen to know that the dirt where these guys live tends to be reddish, hence the color of his base.

Also did some work on the base for the bar matron.


That's the walnut stain. I think the grooves are dark enough, so I didn't put any other color on it. I've finished it with a couple coats of gloss varnish and glued it in to the plastic base. Usually I primer the base and paint the edges black, but this time I'm going to leave it bare and see how it looks.

And, I've cut the matron off her integral base:


The pin will eventually go in to a hold I'll drill in the base to hold her in place. In the meantime, I don't want to run the risk of slopping paint on to my carefully stained base, so I've left the pin extra long so I can hold on to it while I paint her. 


Thursday, December 6, 2012

Hawk, and some bases

Here's today's familiar. I've moved out of rodents and in to their predators. Forgot to put something in for scale again, though. Maybe I'll do a group shot once the lot are done and put a human in there.


Stained some of my potential bases. The two on the left were done with walnut gel stain. The pale one is plain. The reddish one is cherry stain, and the one on the right is Special Walnut liquid stain. I'm not sure what makes 'special walnut' different from regular walnut. They look the same to me. I like the walnut, so I think I'll probably use one of those. Once they've had more time to dry, I'll be able to determine if I need to do more to bring out the grooves or not. Also, I'll start thinking about what sealant to put on them. Regular mini fixer, or should I hit them with polyurethane?


Wednesday, December 5, 2012

Squirrel

Base coated the flesh on the swordswoman:


I'm still debating what colors to use for her. I know it's going to be dark brown hair. As for the rest, she looks ranger-ish to me so I'm leaning towards browns and greens, maybe some gray. I might do a camouflage on the cloak, or I might do something with a bit of freehand. Haven't decided yet.

Also, after doing the rat a couple days ago, I've decided to try doing a familiar a day this week. Today, I stuck with the rodent family and painted up a squirrel:


I should have gotten a shot of him with  something else for scale. He's pretty small. The top of his tail comes up to about mid-thigh on a human mini from the same line. 

Made some more wood bases for the bar matron. I'll stain those tomorrow with different products and see how they all come out.


Monday, December 3, 2012

Based Djinn and a Speed Paint

Sort of. First of all, a couple new things hit the table today. The Minotaur is one of Reaper's Bones line, which are plastic. A pretty flexible plastic - he's kinda rubbery. I haven't painted one of these before, but word is they take paint very well, even without primer. (Mine is sprayed with a thin coat of white primer anyway). It has pretty good detail, particularly for plastic. However, there are mold lines that have to be cut off, and are kinda tricky to clean up. Also, there's definitely some glue squeeze out where he was put together (they come pre-assembled). On the other hand, he cost like two bucks. So, if you want cheap guys for the gaming table, these are great. If you're painting a masterpiece for competition...I'd pick something else.


The rat's a familiar from one of the Reaper familiar packs.


Now, basing the djinn. I'm doing a sand base. Here's my sand:


Lots of people use playground sand. I don't. Playground sand is very regular. Mine there has lots of different colors and sizes of grit, which I think looks more natural. Sadly, I'm not sure where it came from. Might have been from putting in a sidewalk and/or retaining wall. Might have been a beach.

So, to put it on the base, I mix Elmer's, a couple drops of paint of the color I want to use for my darkest shade on the base, and a couple drops of water. The water thins it enough to make it easier to brush on. It doesn't take much paint to tint the glue to the color you want. I paint the mix pretty heavily on to the base; I want there to be enough that the sand will sink right down in to it, to get a nice solid covering of sand.


Then I liberally sprinkle the sand over the base, let it set a few seconds, then tap off whatever's loose.


The glue mix wicks right up through the sand (or the sand sinks down in to it), and the color comes through while still maintaining the shade differences between the different grains of sand. I'll give this at least a couple hours to dry, then dry brush on some lighter colors. Don't try to rush the highlights. If the glue isn't dry, you end up with tacky glue and sand peeling off the base and sticking to your brush. It's a big mess. 

Last, I glued a few tufts of desert-y colored static grass on, painted the edges of the base black, and he's all done!


Also finished this little guy tonight while waiting for the glue to dry. Sort of a speed paint, at least, I started and finished him tonight. These familiars are so small it's not really worth putting a ton of effort in to them.